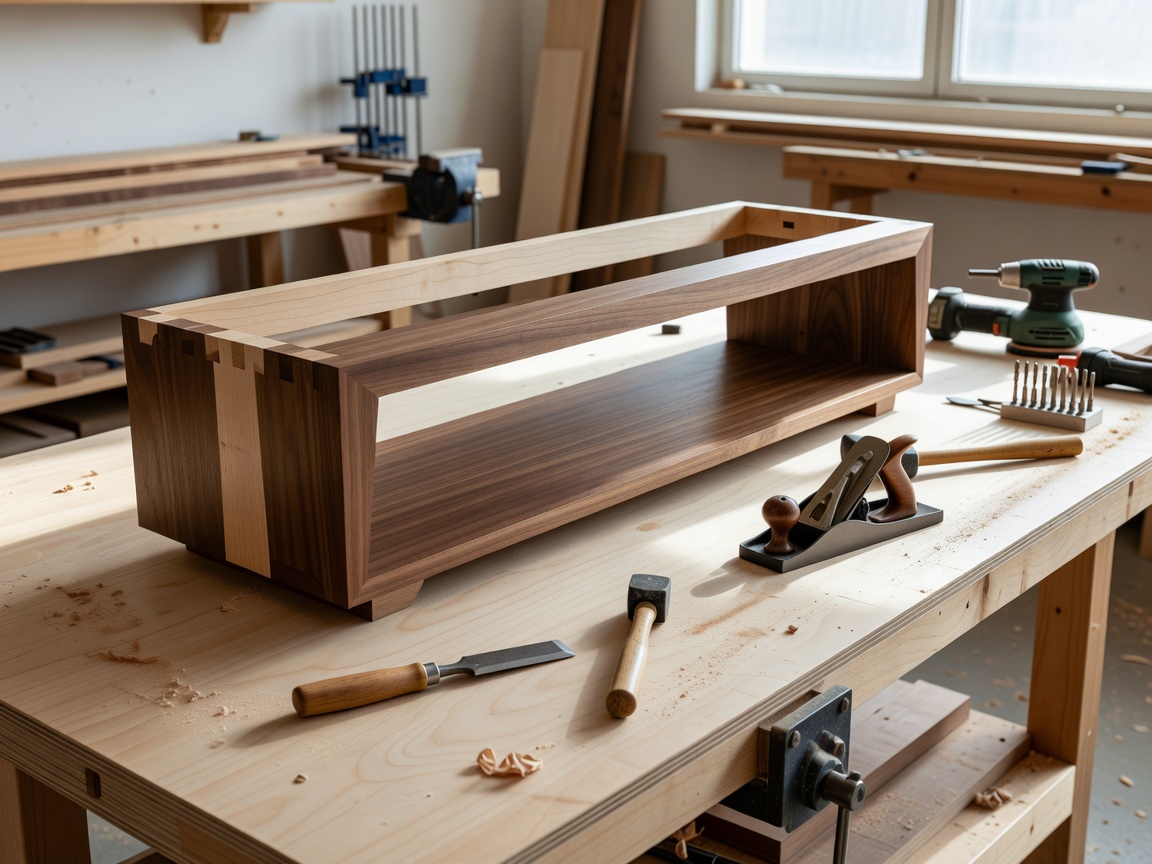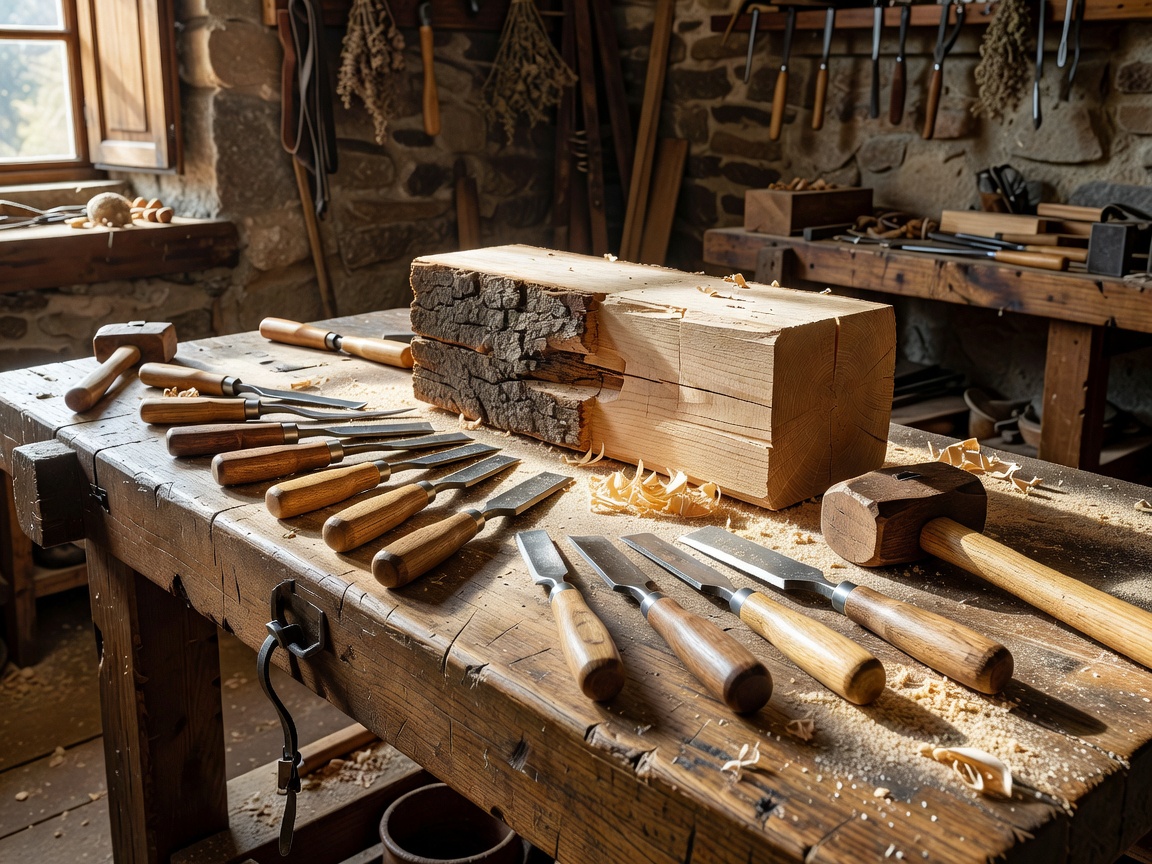
Tools do specific work. A useful setup supports control, visibility and repeatable care. Buy or borrow for the methods you intend to use, then expand only when a clear task requires another profile or scale.
Cutting tools
Carving knives are used for controlled cuts, shaping and small-scale detail. Handle shape, blade form and intended grip affect suitability. Choose a knife designed for carving rather than assuming a general-purpose blade will serve every task.
Gouges have curved cutting edges that remove wood in shaped channels or hollows. Sweep, width and edge profile change the mark they make. A small selection of appropriate profiles can cover many tasks; a large set is not automatically more useful.
Chisels have straighter edges and are suited to flat cuts, boundaries and selected detail. Their size and bevel geometry should suit the work and manufacturer’s intended use. Some tools are designed for hand pressure, while others may be intended for use with a mallet. Follow the tool-maker’s instructions.
Mallets provide controlled impact for tools designed to receive it. Material, weight and face shape affect handling. Do not strike a knife or a tool that is not designed for impact. Select equipment that fits the tool and the scale of the task.
Sharpening and edge care
Sharpening equipment may include stones, guided systems, strops or other tools suited to the blade. Choose a method compatible with the edge geometry and follow the equipment maker’s instructions. Keep the work stable, maintain a clear working area and manage sharp tools deliberately. If unsure, seek competent instruction. Avoid improvising a sharpening setup that can shift or expose hands to the edge.
Inspect tools for damage, loose handles, corrosion and poor edge condition before use. Store cutting edges so they cannot contact hands or other equipment. Keep maintenance products labelled and follow their safety information.
Workholding and bench
Clamps, bench dogs, vices or dedicated holding systems keep the work stable. Choose a method that resists the direction of the planned work without crushing or marking the object. Recheck stability whenever the work changes position. Never rely on a hand being the only support for a piece under active cutting.
A workbench should provide a steady surface, suitable working height and enough room for the object, tools and safe movement. Clear clutter before beginning. Keep walkways open and store equipment where it can be reached without crossing a cutting path.
Light, dust and storage
Use lighting that reveals surface changes without strong glare or deep shadow. Adjustable task lighting can help with fine detail. Keep cables routed away from cutting and movement zones. Make sure the work area has suitable general illumination as well as local light.
Wood dust can irritate the respiratory system and eyes. Use appropriate dust extraction, ventilation and protective equipment for the material and task. Follow local guidance and equipment instructions. Do not use compressed air in a way that spreads fine dust through the workspace.
Store tools dry and protected. Use racks, guards, sheaths or fitted storage that prevent edges from knocking together. Separate cutting tools from general supplies, keep sharpening equipment accessible and return items to a consistent location after use.
Choose for the task
- Match edge profile and size to the scale and method of the work.
- Check handle fit, tool construction, intended use and maker guidance.
- Prioritise workholding, lighting and storage before adding specialist tools.
- Provide suitable protective equipment and dust controls for the workshop conditions.
- Use instruction from a qualified source where a tool or process is unfamiliar.
Good for
Use this guide to plan a first setup, review workshop gaps or decide what kind of tool is relevant to a particular carving method.
What to know
This is a selection guide, not a tool-handling course. Follow manufacturer guidance, use appropriate protective equipment and seek hands-on instruction for unfamiliar work.